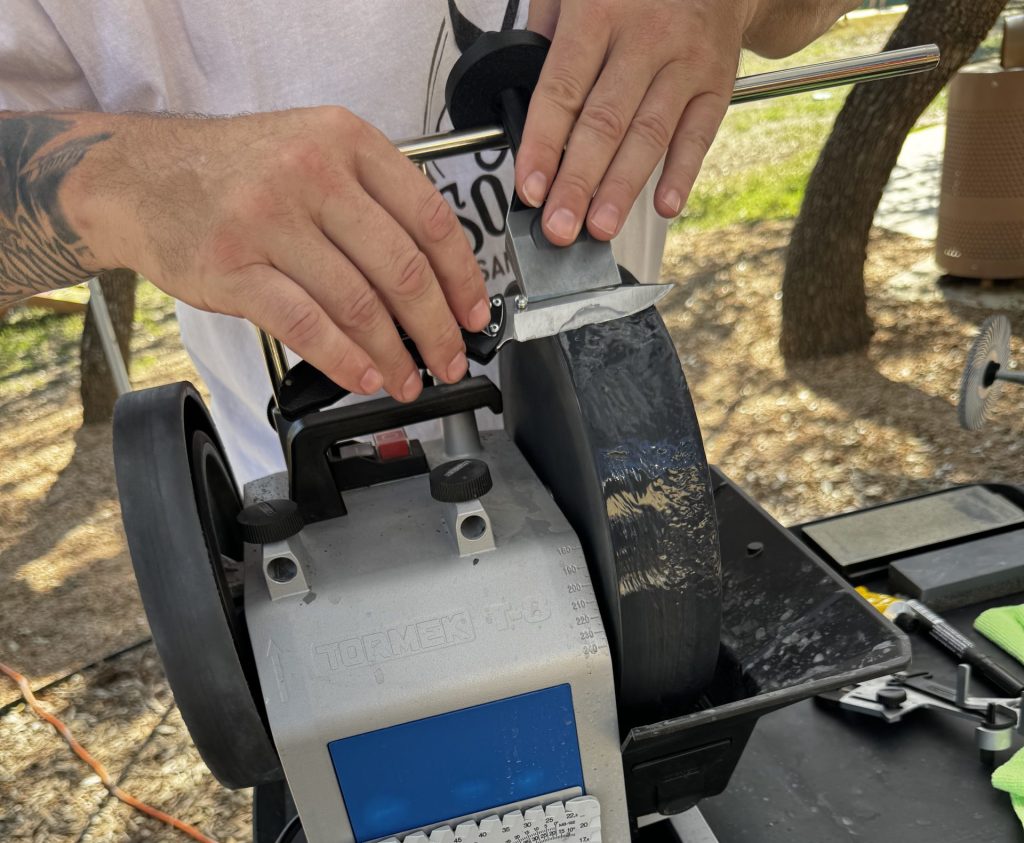
First, I use a water-cooled synthetic grinding wheel to shape your knife or scissor’s bevel. The angle degree of the bevel is important because the angle you choose largely depends on what you use your edge for. Bevels are matter of choice ultimately, but generally you want to match a standard bevel angle according to the make of your knife and what your intended use is. Typical bevel angles for kitchen knives are between 25 to 40 degrees. I don’t guess at bevel angles, I use precision equipment that creates the exact angle intended for each knife down to the degree.
STEP 2: Honing
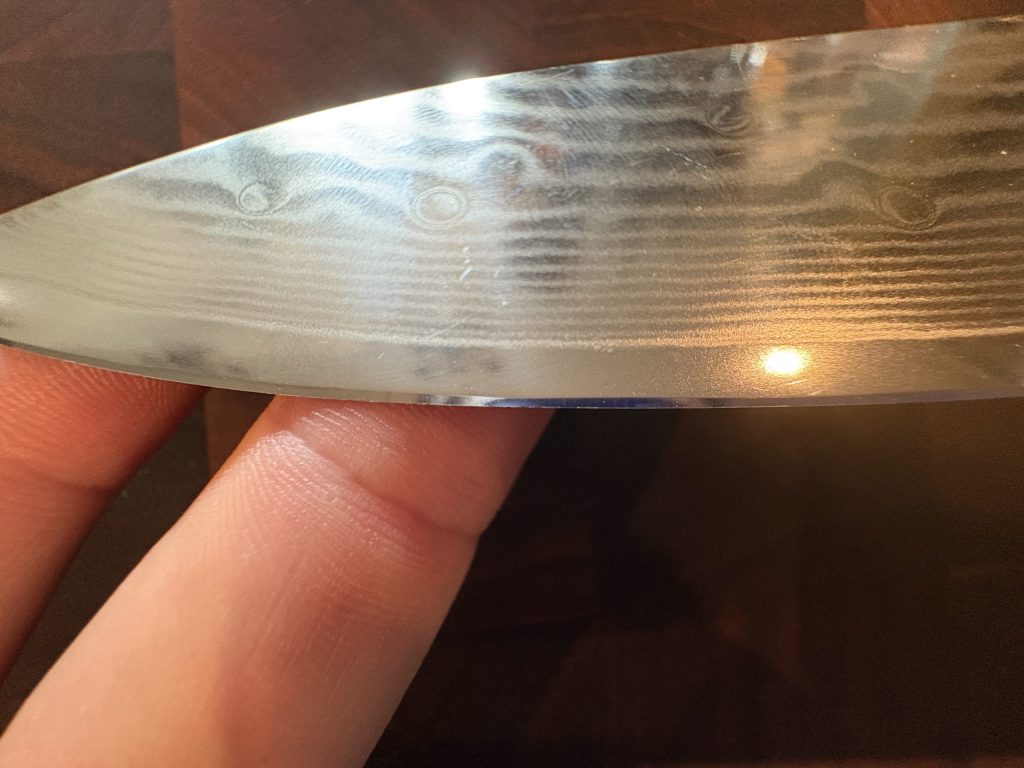
After a precise bevel angle has been created, a burr will develop, which is a small, raised ridge of metal that forms on the opposite side of the blade during the grinding process. It indicates that the apex of the bevel has been reached. This is an important part of the process because it lets me know that the knife edge is sharp and the grinding stage is complete. I remove burrs with an electric honing wheel infused with a compound made of a very fine diamond particulate or other fine abrasive. Honing greatly improves sharpness and allows the edge to retain its shape for much longer.
STEP 3: Stropping
The final step in the sharpening process is called stropping. This is done by carefully running the edge of the bevel across a leather or synthetically conditioned strip by hand. If you’ve ever seen a barber “sharpening” a razon on a long strip of leather, this is really called stropping. This process removes any remanence of excess metal or burr that the honing process mentioned above could not achieve. It effectively aligns the cutting edge, polishes and smoothens it and allows for that razor-sharp quality edge that you’re looking for.
About my Equipment
I demand quality and high repeatability, so for me, there is no substitute for the Tormekadvanced water-cooled sharpening system. The best features of this sharpening system is that it creates precise bevel angles and it does not degrade a blade’s temper. Unlike the high-RPM bench grinders or belt sanders which can overheat the apex edge, the Tormek uses a low-RPM grinding wheel that is immersed in a bath of water, constantly running over the wheel and keeping the metal cool, thereby retaining the edge’s hardness.
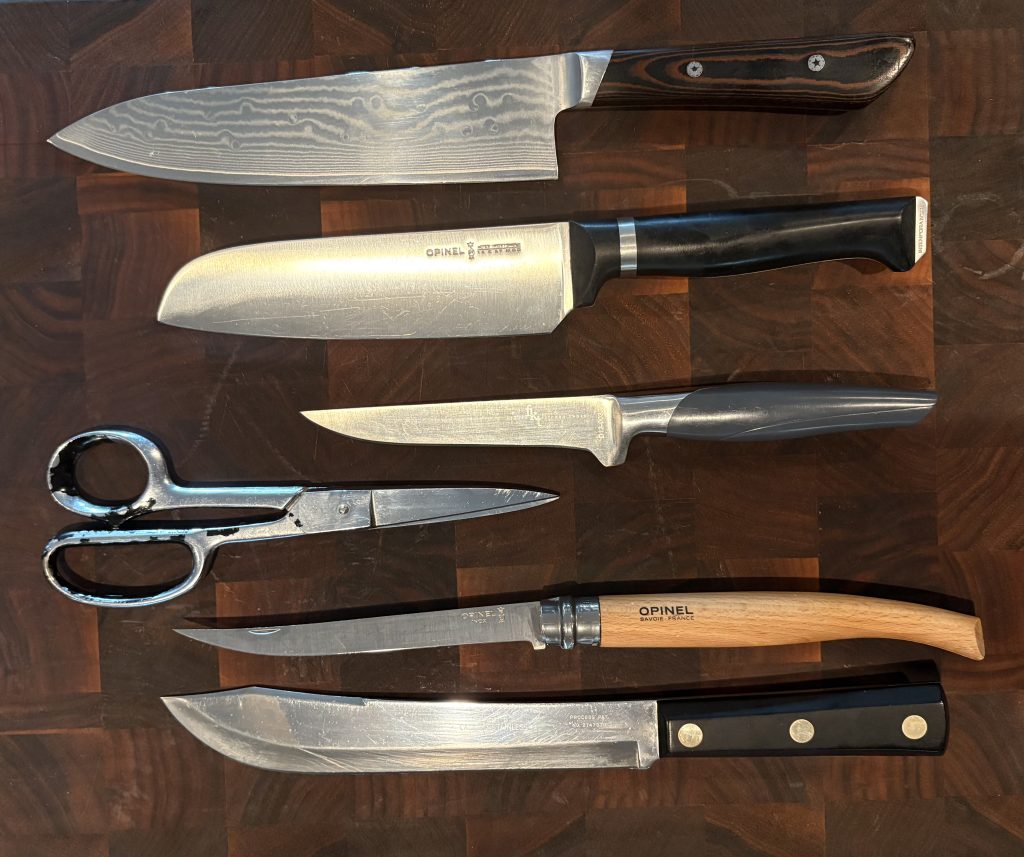
The following is a list of prices for specific knives and scissors. Please be aware that some brands may put a proprietary shape on their serrated knives. I will be happy to look at them but unfortunately, sometimes these proprietary serrations need to be sent back to the manufacturer for sharpening. If you have any questions or want to send me a picture of your knives, I can give you a more detailed explanation for the pricing involved. In most cases I will charge according to the list below. Thank you for your interest in Oh So Sharp!
* Inches refer to the edge length, not the overall knife length.
Standard Kitchen Knives or Pocket Knives under 5″ ……………………… $6
Standard Kitchen Knives between 5″ and 7″ …………………………………… $8
Standard Kitchen Knives over 7″ ………………………………………………………. $10
Serrated Kitchen Knives under 7″ …………………………………………………….. $12
Serrated Kitchen Knives over 7″ ……………………………………………………….. $15
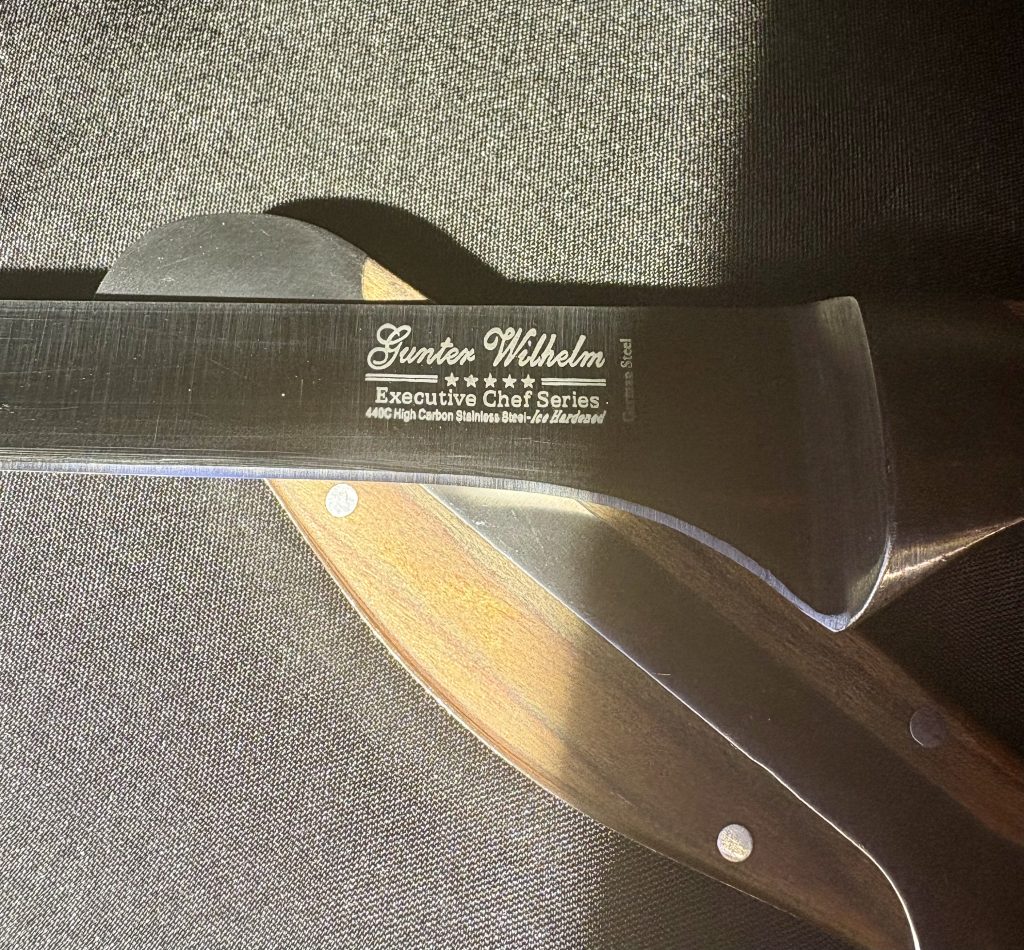
Very Hard Steel Chef Knives 5″ to 7″ ……………………………………………….. $12
Very Hard Steel Chef Knives over 7″ ……………………………………………….. $15
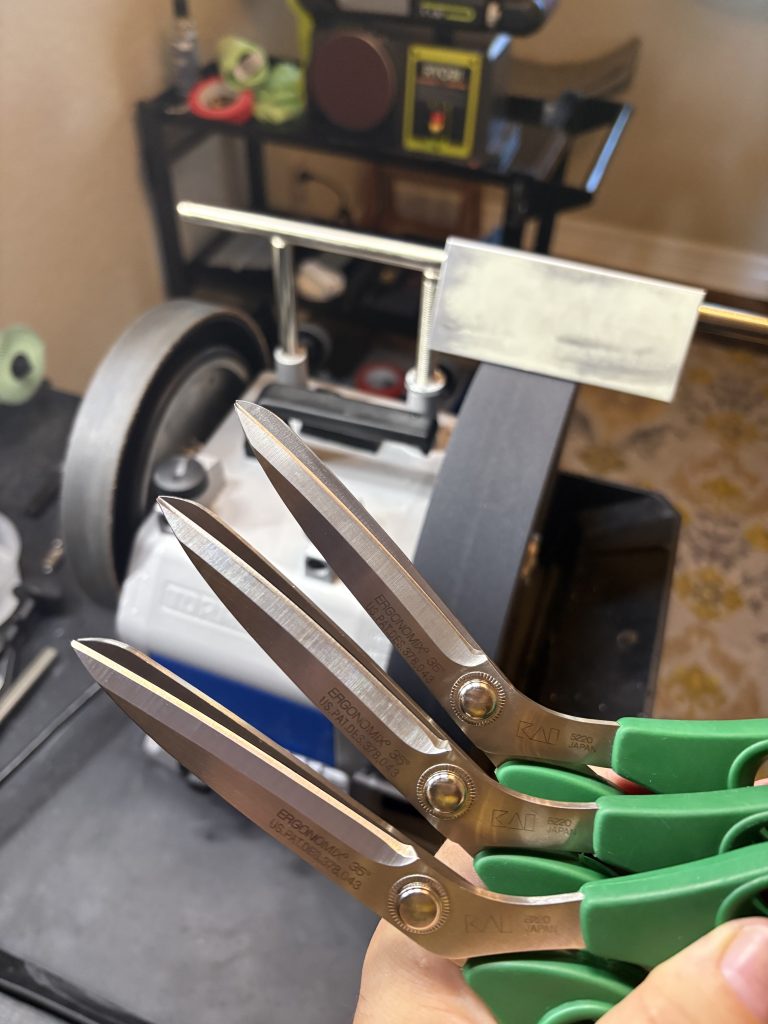
Scissors 3″ and under ……………………………………………………………………….. $10
Scissors over 3″ …………………………………………………………………………………. $12